Why they choosed the 4 conv layer for content_layers and style_layers ?
I read that content_layers are the deep conv layers,
so how can conv layer #5 choosed for style_layers ? (which is deeper than conv layer #4 which choosed for content_layers) ?
I doubt you will find too much theory on this since it will often come down to the specific architecture and images the model was trained on.
However, I recommend you look into feature visualization (there are several approaches here which you’ll find after a quick search) and simply spend a little time visualizing each of your layers. After a little while it should become apparent which is more “style” and which is more “content”.
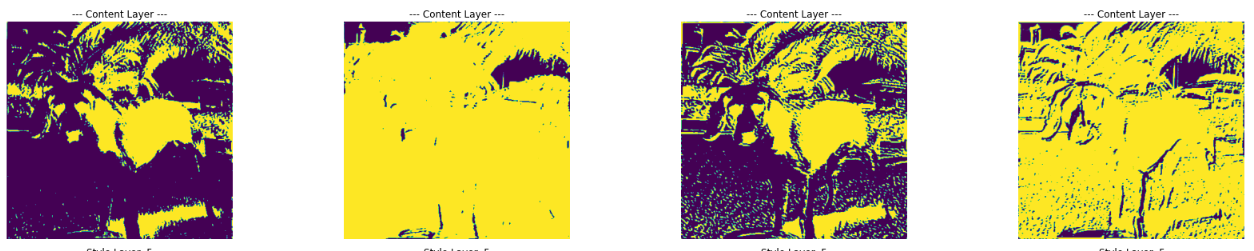
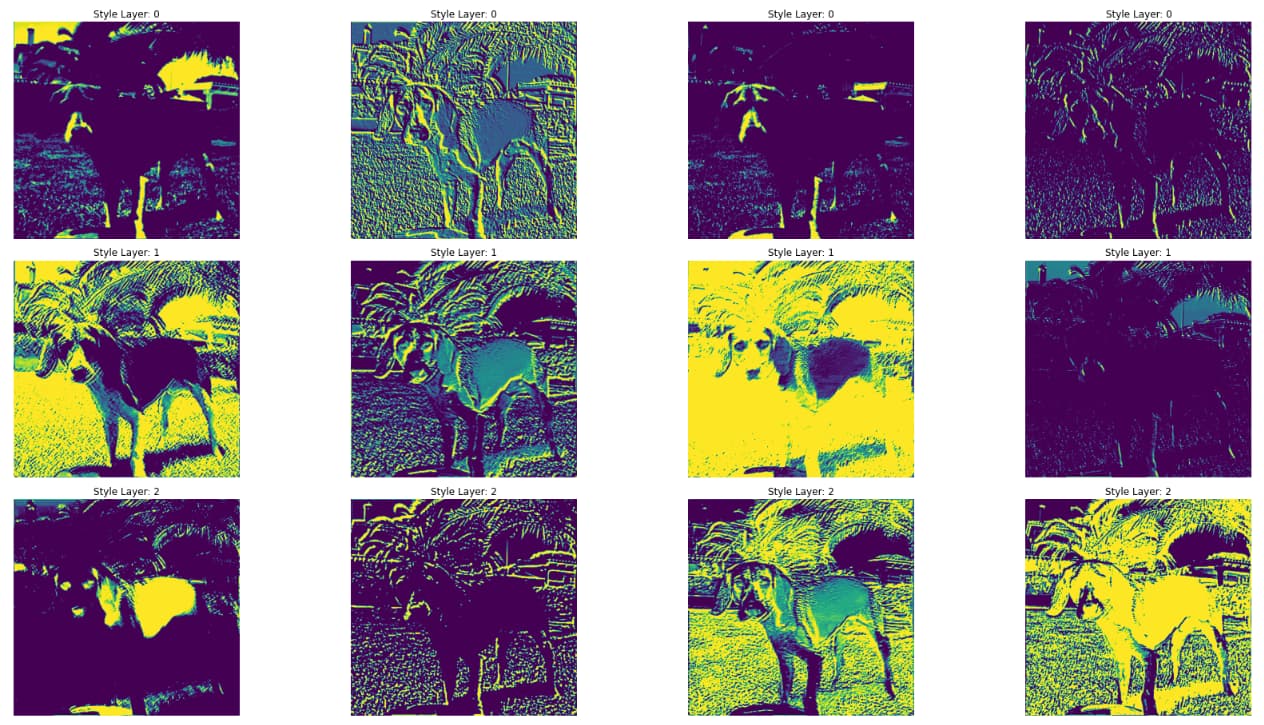
And it seems that there is no much difference between those layers (style and content).
To me is seems that we can extract the outline of the objects of an image from the style and content layer (and not just from the content layer… as you can see above)
Cool visualizations! I think what you’re seeing here is which area of the image is activating the different layers the most, which doesn’t exactly help you in understanding what exactly the layer is looking for / what the feature is matching on. This article is a helpful addition to yours with more info..
Broadly there are at least a couple of approaches you can take to visualizing features the way you are likely looking to do:
(1) go through an actual image dataset and find examples of chunks of image that achieve peak activation of a particular neuron, and then combine those in some way
(2) take a GAN approach of transforming a randomly initiated image in the direction that maximally activates a particular neuron. this can suffer from some high-frequency problems and look funky, so you may have to regularize for that (penalizing high frequency patterns)
I don’t think that there’s a single way to do it that will always work, which is perhaps why there isn’t a good package that does this for you out of the box. Interpretability is extremely exciting, and if you build anything cool and want to share it, the community will appreciate it!